Firearm Fundamentals: How to Shoot a Pistol Safely & Correctly
The firearms industry has seen unprecedented growth in the number of new shooters over the last several years. People have discovered that shooting can be enjoyable and empowering. The application of shooting skills can range from competition and hunting to personal protection. The skills to succeed in these arenas though can be difficult to master. This is especially true with the handgun. It is relatively small with a short sight radius, or distance between the front and rear sights. This can make accurate aiming a challenge. Throw into that the fact that most stock triggers require pressure equivalent to twice the weight of the gun to fire and things get more challenging. With training and practice you can master the handgun however. To help you get started, let’s take a look at the fundamentals of safety and shooting.
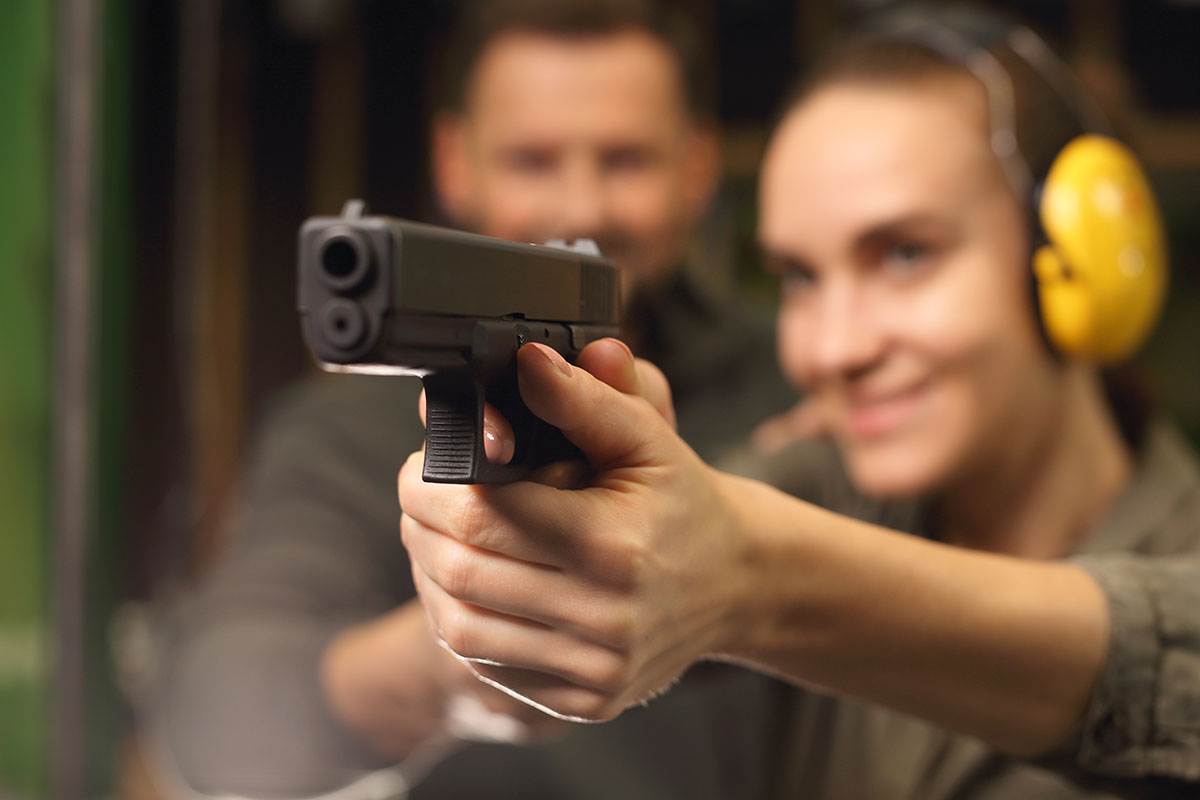
Safety
A handgun can be dangerous in unqualified or reckless hands. Safety should be a serious concern and by embracing it, you will enjoy your shooting experience even more. There are four cardinal safety rules that are important to follow. These rules are:
- All guns are always loaded. Treating all guns as if they were loaded helps us to avoid a negligent discharge for example while cleaning.
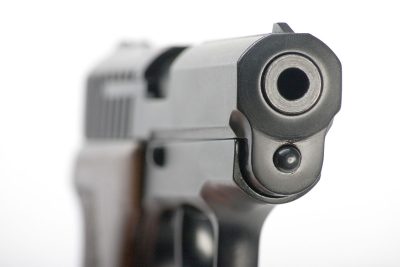
- Never let the muzzle cover anything you are not willing to destroy. This translates to, “don’t point the gun at anything you don’t want to shoot.” This includes bystanders, yourself and even property. Always be aware of your muzzle.
- Keep your finger off the trigger until your sights are on the target. Many people have shot themselves because they allowed their finger to be on the trigger at the incorrect time. Make sure the gun is in the desired direction and orientation before you put your finger on the trigger.
- Be sure of your target and what is beyond it. You must be aware of what is between you and your target as well as what is beyond your target. Bullets are very unforgiving and if you miss your target you need to make certain it will impact in a safe area.
I would go on to add that you should carry and store your firearms safely as well. A handgun left on a table around small children can lead to an unspeakable tragedy. Be responsible and respectful of all firearms and you will gain a lifetime of enjoyment from them. In that arena I suggest that you purchase a gun safe. Not only to keep the guns from curious hands, but to secure guns when you are away. This will protect them from burglars and even from house fires. There are numerous options here ranging from vaults to small handgun safes. If all you have in-house is a handgun, I would suggest a small handgun safe with biometric or code entry. This safe can be kept in a common area. It allows you to secure the gun while still having quick access to it should the need arise. There are many options to choose from and a quick search online can help you find one that best fits your needs.
Grip
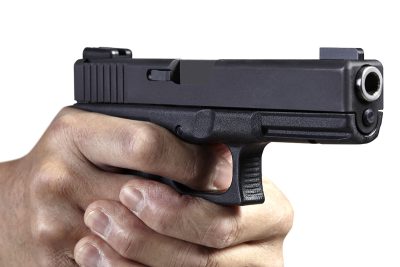
A good grip on the gun is critical if we are to enjoy any sort of accuracy. While there are several versions out there, the best grip will have the barrel in line with the bones in your forearm. The web of your shooting hand should be high on the back of the gun and fully under the back strap. Your thumb should be pointing down the slide. The support side hand will have equally as firm a grip. Your fingers will wrap over the top of your first hand and your thumb will be pointed down the slide as well. The thumb from your strong side hand will now rest on top of the muscle of your support side hand. This “thumbs forward” grip allows the large muscle of your thumb to settle up against the gun. This, in turn, will create a full 360° grip with no weak spots or openings. It is at this point that you want to make sure the gun fits your hands. If you can barely get your paws around the gun, you should consider doing a little pistol shopping. A good grip is one of the cornerstones to accurate shooting.
Stance
Like grip, there are numerous stances you can use. The stance I teach to new shooters is simply what I call a fighting stance. This is the same stance you would take if someone pushed you to the point where you were going to have to fight them. Your support side foot is forward and you strong side foot is back about shoulder width. You are bladed just slightly away from the target. You will extend your arms forward with gun in hand. You should be extended but not completely locked out. Your shoulders should be engaged, but not wrapped up around your ears. Lean just slightly forward onto the balls of your feet and get ready to fight. This is a strong position that will allow you to fire accurate shots. In the end I encourage you to practice moving and shooting as well. If someone is attacking you or even shooting at you, your ability to move will be critical.
Sight picture
Sight picture is everything you see when you look down the barrel of your gun. This includes your sights and the target. The correct sight picture for handgun shooting can seem counter-intuitive however. While we generally want to look at our target, it is important that we focus primarily on the front sight. I know you are scratching your head, but stay with me here. Our goal is to create a straight line between the rear sight of the gun and the target. While it is nowhere near the middle, the front sight is the closest thing we have to a midpoint. It is essential that our “midpoint” be our point of focus to better control accuracy. With that being said, a good sight picture would consist of a slightly blurry rear sight, a crystal clear front sight and a slightly blurry target. It may seem as if this would not be very accurate, but it is an absolute if you are serious about accuracy. There are other situation-specific sight pictures such as “flash sight picture” used in close quarter situations, but the method above is our primary for 90% of all shooting.
Sight Alignment
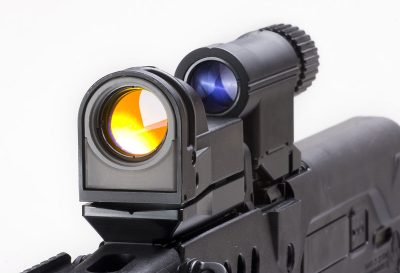
There are countless numbers of handgun sight options ranging from traditional to wild. The most common sight we see is a notched rear sight with a blade style front sight. In many cases, they will include dots to help with alignment and or provide low light alignment capability. The correct alignment will have the front sight positioned in the middle of the rear sight notch with an equal light space on each side. The top of the front sight will be level with the surface of the rear sight. This orientation of our sights will allow us to consistently and accurately hit our target. Even a slight misalignment will result in missed shots, so take your time and get things aligned before you fire your shot. With practice, this alignment will become instinctive as you get accustomed to the sights and develop muscle memory.
Trigger press
Pressing the trigger is one of the most challenging parts of accurate shooting. As I mentioned earlier, it can sometimes take up to five pounds of pressure to run a stock trigger. This can translate into a little extra motion in the gun and possibly even a large dip in the muzzle. We will look at the entire trigger operation to help you master it. Finger placement on the trigger is important. With semi-auto pistols, the trigger should rest on the middle of the last pad of your index finger. The preferred area is right in the middle of the pad which holds your fingerprint. The trigger can be hard to depress and too much finger inside the trigger will cause accuracy issues. We will now begin to press the trigger directly to the rear. We want a smooth and continuous motion. You will feel what is called “pre-engagement travel” prior to any real resistance from the trigger. Once you are past that, you will feel a slightly higher degree of tension. Take your time and smoothly press through this as well. The trigger will travel a slight distance further then the gun will fire. A smooth and consistent trigger press is the key to keeping your shots on target. If you rush or jerk the trigger at the end, your shots will miss regardless of how good your sight work is. We are looking for what is called a “surprise break.” This simply means that the gun fires when you have completed a smooth trigger press as opposed to an effort to “make” the gunfire. For many people, the actual firing of the gun can cause a flinch. This is where practice and repetition enable you to reap the rewards of hard work. You must accept the fact that the gun is going to fire and embrace it as opposed to fearing it. You are in control. We will want to let the trigger reset now so we can shoot again. As the gun fires, we will slightly release the tension on the trigger and allow it to move forward. It will travel a fairly short distance at which point you will feel and possibly even hear a click. The trigger is now reset and ready to go. What you will find is that the trigger is much further back than it was on your first press. That is because we will not need to deal with the pre-engagement travel if we have reset the trigger correctly. Do your best to not take your finger off the trigger and allow it to travel all the way forward. This makes for slow and generally inaccurate shooting with stock triggers. I encourage you to practice pressing your trigger in a safe area. This is known as dry practice and is a priceless tool in improving your shooting. Find a safe area with a solid backstop. Clear out all ammunition from the area and remove any distractions. Rack your slide and point into a safe target. Smoothly press your trigger until you get a click. Reset your action and do it again. Mix in good sight alignment and sight picture practice and this will quickly improve your overall skills.
Follow Through
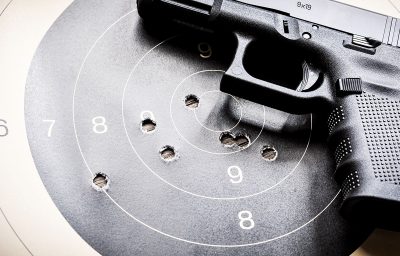
One of the biggest challenges I face as an instructor is teaching people to follow through. Like golf and tennis, follow through is important. If you fire a shot and immediately drop your gun you are making more work for yourself in terms of follow up shots. This is especially true in defensive handgun use. We may need to shoot an assailant multiple times in order to stop them from assaulting us. Dropping the gun too early can have lethal consequences. For every shot, we take we will have two sight pictures. Our initial picture and a follow-up sight picture in case we need to take a second or third shot. Once you fire your gun, take the time to get another sight picture and prepare to shoot. While you may not need to fire again, it is best to be ready just in case. Avoid snatching your gun down after a shot to evaluate your work. Stay pointed in until you are certain you are done. One exception that I have seen to this rule is in competition shooting. Moving from target to target at speed is critical if you expect to score well so taking time to get a follow-up sight picture usually falls to the wayside. Understand that there is a difference between competition shooting and defensive shooting. While they have many shared characteristics, they can vary a great deal as well.
Manipulations
The last item we will look at is manipulations, or more specifically keeping your gun running. You must be able to do what are called “emergency reloads” if you are to become a well-rounded shooter. Handguns have relatively small magazine capacities and during long training sessions, you will experience what is called slide lock on semi-auto guns. This occurs when the magazine is depleted. Once it is empty, the slide of the gun should lock to the rear as an indicator that you are out of ammo. We call this an emergency reload because in a gunfight, an empty gun certainly qualifies as an emergency. To better explain it, I will break it down in steps. Once you get slide lock move the gun into the center of your chest area, so you can still enjoy good vision downrange. This is called your workspace.
- Index a fresh magazine from your pouch and begin to draw it towards the pistol.
- As the fresh mag approaches the pistol, press the mag release and drop the empty mag to the ground. Do not try to hang on to it. We will collect it when the dust has settled.
- Insert the magazine with one firm motion and bring the gun back onto target. If you seat it firmly, there is no need for an additional slapping of the magazine.
- As you are coming back onto target, rack the slide to the rear and release it. This will chamber a round and allow you to shoot again.
- Another method of chambering a round is using the slide stop lever on the gun. This is accomplished by using your support or strong side thumb to press down firmly on the slide stop device. This will release and the slide will run forward chambering a round. This is a faster method of chambering a round but may not be feasible with some guns and or shooters.
There will be other times when you may want to put a fresh magazine in the gun as you know you are getting close to running dry. This is called a tactical reload. There are two versions of this reload that I teach. Which one you use is based on your dexterity and hand size. Version one is generally described as the one out, one in method.
- With the weapon in low ready, release the existing magazine into your support side hand.
- Reach back and pocket that mag.
- After you pocket the initial mag, retrieve a full mag and insert it into the pistol. Your gun is now topped off with a full magazine.
Version 2 is generally called a combat tactical reload. This method leaves the weapon without a magazine for a shorter time period. It does require a high degree of dexterity though because at one point you will have two magazines in your hand.
- With the weapon in low ready, sweep that support side hand back and retrieve a full mag.
- Holding that mag in the palm supported with the thumb and index finger, drop the existing mag into your palm. This mag will now be retained between the last fingers in your hand.
- Now insert the fresh mag into the pistol.
- Pocket the partially depleted magazine. Your gun is now topped off with a full magazine. This type of reload works well with slender single stack style magazines.
The skills required to expertly run a handgun are numerous. They are not unachievable though if you put in the time and effort. The rewards for your labor will be exceptional accuracy while shooting and fast speeds. It can make range sessions memorable and your overall shooting experience an absolute pleasure. As with anything you take seriously, professional training is a must. While you may have been shooting since you were “knee high to a grasshopper,” it is a good idea to have a pro offer some tips and advice. In the end break down the different parts of handgun shooting and master each one. By doing that it will be much more achievable. Be patient with yourself and judge yourself based on your own performance and improvement. It may take some time, but with effort you can master the handgun.
